

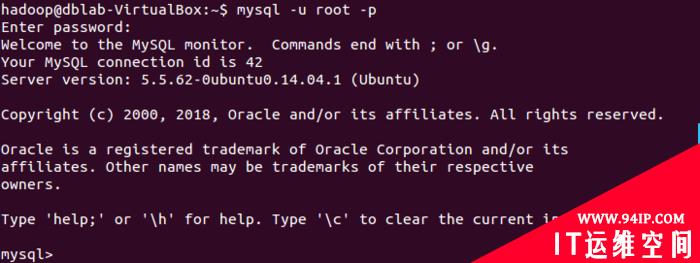
(1)登录mysql:
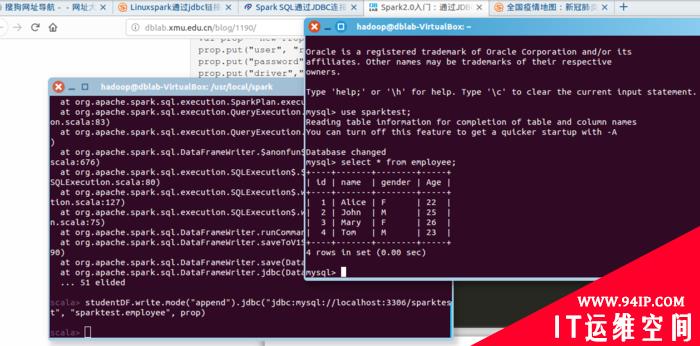
(2)新建数据库sparktest,新建数据表employee,并输入数据:


(3)启动spark-shell,并指定mysql连接驱动jar包(如果你前面已经采用下面方式启动了spark-shell,就不需要重复启动了)
cd /usr/local/spark
./bin/spark-shell \
--jars /usr/local/spark/mysql-connector-java-5.1.40/mysql-connector-java-5.1.40-bin.jar \
--driver-class-path /usr/local/spark/mysql-connector-java-5.1.40-bin.jar
(4)输入程序:
import java.util.Properties
import org.apache.spark.sql.{SQLContext, Row}
import org.apache.spark.sql.types.{StringType, IntegerType, StructField, StructType}
val sqlContext = new SQLContext(sc)
//下面我们设置两条数据表示两个职工信息
val studentRDD = sc.parallelize(Array("3 Mary F 26","4 Tom M 23")).map(_.split(" "))
//下面要设置模式信息
val schema = StructType(List(StructField("id", IntegerType, true),StructField("name", StringType, true),StructField("gender", StringType, true),StructField("age", StringType, true)))
//下面创建Row对象,每个Row对象都是rowRDD中的一行
val rowRDD = studentRDD.map(p => Row(p(0).toInt, p(1).trim, p(2).trim, p(3).trim))
//建立起Row对象和模式之间的对应关系,也就是把数据和模式对应起来
val studentDataFrame = sqlContext.createDataFrame(rowRDD, schema)
//下面创建一个prop变量用来保存JDBC连接参数
val prop = new Properties()
prop.put("user", "root") //表示用户名是root
prop.put("password", "123456") //表示密码是hadoop
prop.put("driver","com.mysql.jdbc.Driver") //表示驱动程序是com.mysql.jdbc.Driver
//下面就可以连接数据库,采用append模式,表示追加记录到数据库sparktest的employee表中
studentDataFrame.write.mode("append").jdbc("jdbc:mysql://localhost:3306/sparktest", "sparktest.employee", prop)
查看更新后的数据表:






发表评论